Project: 5 way
Raleigh 'One Way' conversion
(update 4/2/14)
 |
| Original Raleigh sales photo |
I was hesitant to actually change this bike from it's original stock look. As a single speed bike, Raleigh One Way, it was fast and agile for a steel frame 1930's technology standpoint and as the old saying goes "if it ain't broke, don't fix it".
But if you have followed my last 3 projects, you already know that I'm not very good at leaving well enough alone!
With that being said, I was completely happy with this bike until I rode it in the PALM last year. The PALM is a 6 day bike tour across the lower peninsula of Michigan. The first 3 days were hilly so I intentionally changed the rear sprocket to a 20T sprocket combined with the 46T front chain ring and only had a problem on one very long and steep hill. Through the rollers, it was quite enjoyable and an overall good compromise gear choice.....that is until I tried to keep up with my friends on their road bikes.
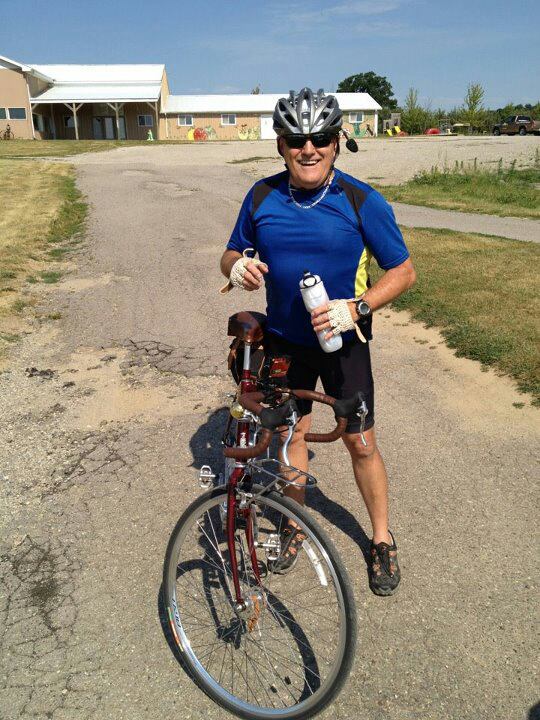 |
| (100 degrees) on the PALM 2012 |
BYE BYE......see u later. Since I couldn't really pedal over 18mph I watched them ride off into the sunset. Nice, they basically left me to ride alone for the next 6 days, until I met up with some friends on a tandem. Then everything was good again.
This inspired me to change this from a single speed bike, to a 5 speed internal geared tourer. The frame was correct and it already had a front decaleur rack and fenders. So how hard could it be?
That's what this edition is all about.
 |
| finished '5 way' fully dressed (Sir Walter Raleigh) As you can see from the photo above, it doesn't look much different from stock. I purposely wanted to leave the appearance alone since I really liked the lines of this bike stock. What did change was every component on the bike. The biggest change and the most challenging part of the build were the wheels. I hadn't thought much about it when I first started, but it soon became apparent that I couldn't use the stock wheels, since I had to change the SRAM torpedo rear hub, (fixed/freewheel) to an internal Sturmey Archer 5 speed. The basic issue was the stock wheels were a 32h wheel and the SA 5 speed was a 36h pattern. Since it was almost impossible to find a wheel with this hub already built, I was going to have to have one built, and if I'm doing that it only made sense to build a new front wheel as well. So I purchased this! |

Yeah, I wasn't quite sure what it was either, but I was told you need one to build wheels!
So armed with this limited amount of information and a recently received Income Tax refund, I called my favorite group of people at Tree Fort bikes and told them my project ideas. They suggested I build some Velocity Dyads and since they had the reps phone number I could call them direct and order everything I needed. Great advice, so I did.
Basically they put the items in their smart phone app (?) and figured out what spokes lengths I would need and cut them to order at no additional charge and sent the wheel rims, nipples and spokes to Tree Fort and all I had to do was go there and hand over my income tax refund.....DONE!

 |
| Surly front hub |
Of course I needed a few other minor items as well, but we'll get to that in a few more sentences. I ended up watching several on line videos on how to lace up wheels and actually built them twice. The first time, I used stainless steel nipples and didn't like the look, so I went back to Tree Fort and purchased some red anodized and replaced both the front and the back.
This really was a good thing, because It gave me the chance to gain some more experience. Of course not only did I need the truing stand in the first pic, but also a spoke tension meter. So before I even bought my wheel parts to build the wheels, I already dropped $300 just to build them. So I can't say that building them was a cheaper way to go, in fact my local bike shop would have built them for $35 a wheel labor, so this was more for the experience than it was the cost. I wouldn't recommend anyone do it unless you really want to say you built your own wheels! (which I did). lol
Once those were out of the way, It became obvious that the quality of everything else had to be on par so my next large purchase was the drivetrain.
I wanted a name that was synonymous with touring and high end, so I decided on the Surly Mr. Whirley crank set. But since it wasn't available as an off the shelf set up using the gearing I wanted, I ended up having to purchase the crank arms, spider ring and chain rings as separate items and put it all together. WHY NOT....I already laced 72 individual spokes and nipples and spent 2 evenings making them roll true, of course I would have to build the crank set!
 |
| Surly Mr. Whirley Crankset |
I also wanted to the stainless steel 46t chain ring so the Surly was the obvious choice. I used a black spider ring to play off of the black Swiss DT spokes I used in the wheel build. All of this massive power is kept in check with a Chris King external bottom bracket. The original set up used a square taper BB and you have to use an external BB with the Surly.

The chain is a stainless steel Wipperman single speed.
I do want to say that every upgraded part (except for the SA 5 speed internal hub) on this bike came from Tree Fort bikes in Ypsilanti. They have a price matching internet machine that allows you to find the current best price on the internet and then they match it.
I LOVE THESE GUYS!
Speaking of rear hub:
 |
| Sturmey Archer SRF5 5speed hub The tricky part, aside from building and truing the wheel was setting up the chain line so it was straight. This isn't an issue with a derailleur, but on a single speed its critical! Which now brings me to the most important part of this build. How do you stop this Reynolds 520 Cro-molly steel frame with all of the stainless steel add-ons if it has loaded touring packs racing down a hill at 40mph? Answer, call Paul, as in Paul Components! |
 |
| Paul Components Neo Retro Front Cantilever |
 |
| Paul Components Touring Cantilever rear These brakes are drop dead gorgeous! High polished stainless steel made in America by real craftsman! what more can I say? They even come stock with Kool Stop brakes. All of the brake and shifter cables are Jagwire and the inside cabling is Teflon coated. The handlebars are Nitto radonneour bars that are comfort formed. I wrapped the bars in Brooks brown leather tape to match the stock Brooks B17 seat. The bags are a combination of Brooks and Velo Orange and the stock Decaleur rack was replaced with the Velo Orange rack with stainless steel mounted bag holder so I can slip the bag on and off the front without having to undo any straps. Very cool, very pricey. Here are all of those pics:   
So in the end, it was a very expansive and educational build!
I learned wheel building. I have never worked with cantilever brakes. I had to overcome the fact that since this was originally a single speed, there wasn't any cable stays for the shifter cable to the rear internal gear hub.
I will probably never ride it on a cross country tour, but I would like to think that I built it tough enough to do so. I don't think I missed an opportunity to upgrade it with every high end part for that purpose. Let me know!
Update 4/2/14
So I rode it on the PALM last summer and I'm sad to report that I had several issues related to the build that I am embarrassed to say were my fault:
Not exactly the cross country touring quality I thought I built. Lets call it a 'shake out' tour.
So it was back to the drawing board this winter.
I have just about finished the re-build. I'm waiting on the new chain and pedals, {copper} to finish the bike.
I'll post new pics soon, I decided to build it as a show bike with lots of new Brooks goodies and copper accents.
Stay tuned! New pics and parts breakdown coming shortly!
Here is a link to part 2: http://ralieghincopper.blogspot.com/
|